
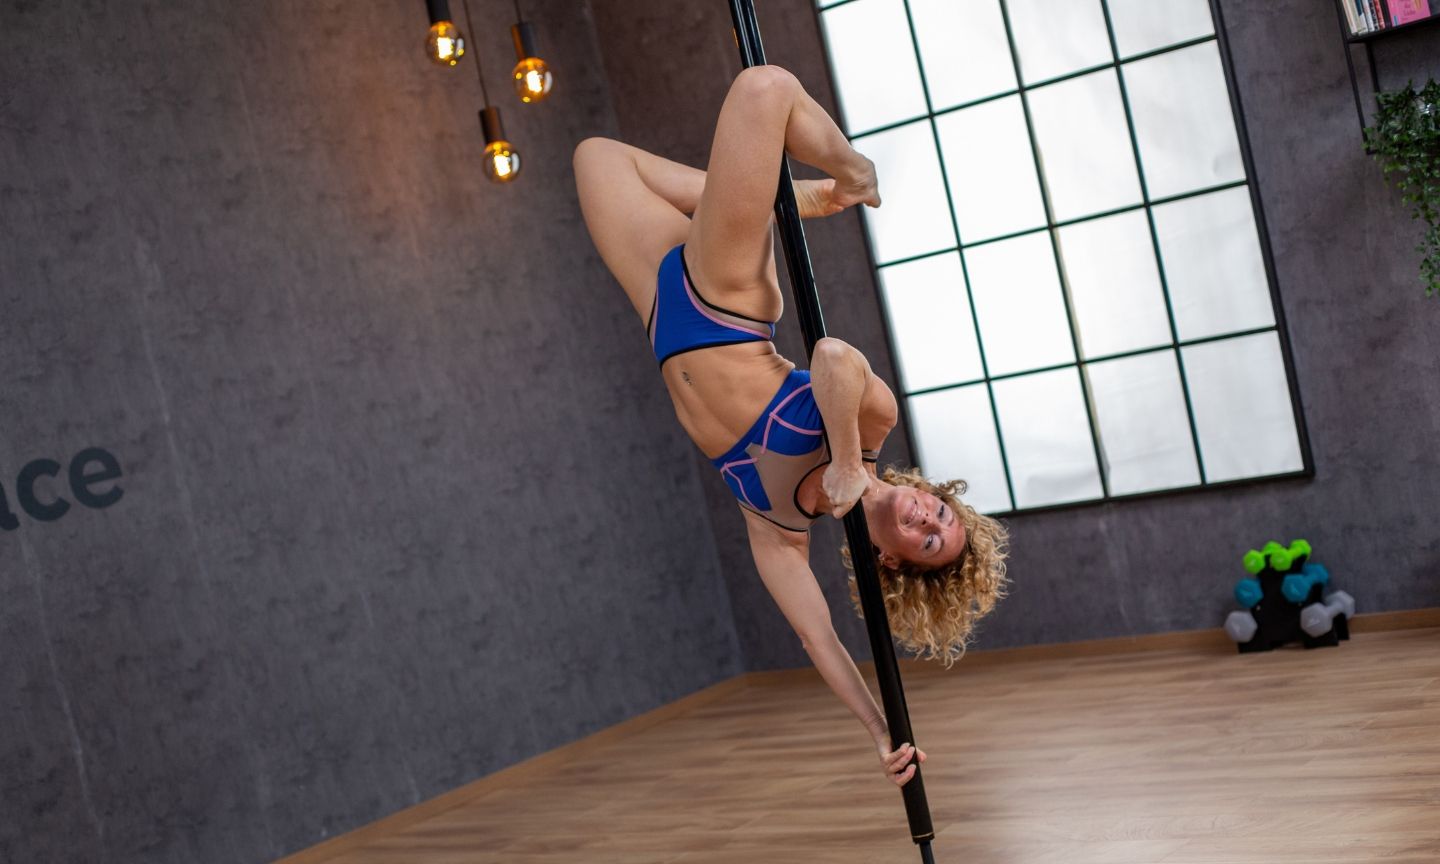
A pole dance invert is the moment you bring your hips up over your head and turn upside down on the pole. You learn it in stages: first you build core and upper body strength on the floor, then you practise crunches and tuck positions at the pole, and only then you take your legs all the way up. This guide walks you through the prerequisites, the progression, the mistakes most dancers make and how to train it safely.
What is an invert in pole dance?
“Invert” describes any move where your body goes upside down on the pole, with your hips higher than your head. The glossary entry on inverts explains the term in more detail. When people talk about “learning to invert”, they usually mean the first invert move itself: the Invert, also called the Chopper or V Invert. You start upright, bring your hips and legs up, and end with your legs open in a wide V on either side of the pole.
That first invert is a turning point. Once your body knows how to get upside down with control, a whole new family of moves opens up, from leg hangs to advanced tricks.
Is the invert a beginner move?
It is usually the first upside-down move you learn, but it is not something for your very first sessions. Most dancers work towards it after they feel comfortable with beginner spins, a basic climb and simple holds like the Crucifix, which teaches your legs to hold you while your hands let go.
If inverting feels far away right now, that is completely normal. It is a milestone you grow into, not a test.
What strength do you need to invert on pole?
An invert is mostly a core and upper body move. Your arms and shoulders keep you close to the pole, your back stays engaged, and your core lifts your hips. You do not need to be extremely strong, but you need enough control to lift your legs without swinging.
Conditioning drills that help
These are general, well-known exercises that build the strength an invert asks for. Do them on the floor first, then at the pole.
- Hollow body hold: Lie on your back, press your lower back into the floor, lift your shoulders and legs slightly and hold. This teaches the core tension you need upside down.
- Tuck holds: Sit or hang and pull your knees towards your chest, then hold. On the floor you can start seated with your hands beside your hips.
- Knee raises: Lying on your back or standing at the pole, bring your knees up towards your chest slowly and lower them with control. The lowering part matters as much as the lift.
- Reverse crunches: On your back, curl your hips off the floor towards your chest. This is the same motion your hips make in an invert.
- Shoulder and back work: Exercises that pull your shoulder blades down and back help you stay close to the pole.
For structured sessions, the Strength workouts library has follow-along routines you can use alongside your pole practice.
How do you learn your first invert? The progression
The safest way to invert is in small steps. Each step builds on the one before, and you only move on when the current one feels calm.
Step 1: On the floor
Start with the drills above. When a hollow body hold and slow reverse crunches feel manageable, your core is getting ready. Some dancers also practise rolling into a shoulder stand on the floor, so their brain gets used to being upside down in a safe place.
Step 2: Crunches at the pole
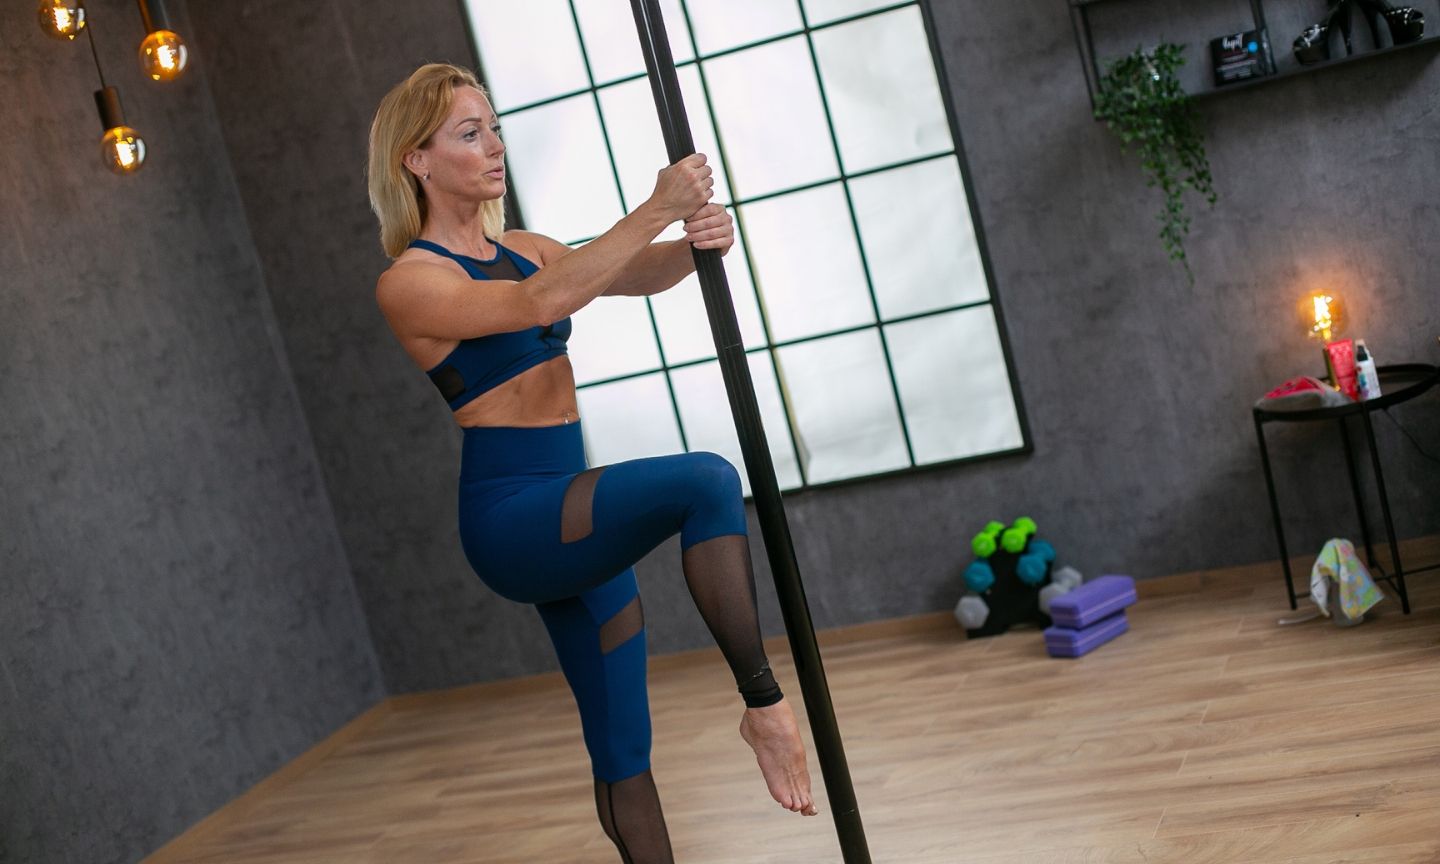
Stand or sit at the pole, hold it with both hands and bring your knees up towards your chest. Hold for a moment, then lower slowly. Your arms stay engaged and keep your body close to the pole. This is where you learn the position of your hands for the invert, which your coach or tutorial shows you exactly.
Step 3: Tuck invert
From the crunch, keep lifting your hips until they move over your head while your knees stay tucked. Your legs then travel up on either side of the pole. A tuck keeps your legs short and close, which makes the lift easier to control than with straight legs. Train these first tries with a crash mat and, ideally, a coach or spotter.
Step 4: Straddle invert
Once the tuck invert feels steady, you can open the legs wider and lift them in a straddle, which gives you the classic V shape of the Invert. Later, many dancers work towards lifting with straight legs, which asks for more strength and control.
What comes after the invert?
Your first invert is the entrance to many new moves. Two natural next steps are the Outside Leghang, often the first hang from the legs, and the Inside Leghang, where the inside knee holds you and the line opens up. If you love open-leg shapes but are not inverting yet, the Pole Straddle gives you a long split line while you stay upright.
Progression at a glance
| Stage | What you practise | Ready to move on when |
|---|---|---|
| Floor | Hollow body, tuck holds, reverse crunches | You can hold tension without your lower back lifting |
| Pole crunch | Knees to chest, holding the pole | You lift and lower slowly, without swinging |
| Tuck invert | Hips over head, knees tucked | You get up and down calmly with a mat and spotter |
| Straddle invert | Legs open into a V | The tuck feels steady and controlled |
What are the most common invert mistakes?
- Using momentum instead of strength. Kicking or swinging your legs up can get you over once, but it is hard to control and makes it harder to come down safely.
- Letting the arms go long. When your arms straighten and your body drifts away from the pole, the lift gets much heavier. Keep the pole close.
- Looking for the floor. Many dancers turn their head to see where they are. Keeping your head in line helps your body stay organised.
- Holding your breath. Breathe out as you lift. It helps your core engage.
- Skipping the lowering. Coming down with control is part of the move. Practise it as much as the way up.
- Training when exhausted. Inverts at the end of a long session, when your grip and arms are tired, are where slips happen.
You will find more general beginner pitfalls in the top 10 pole dance mistakes for beginners.
How do you invert safely?
- Use a crash mat. A crash mat under the pole is the most important piece of safety equipment for inverting.
- Train with a spotter. For the first tries, a coach or an experienced spotter makes a big difference.
- Use a static pole. Learn your first invert with the pole in static mode, so it does not turn under you.
- Skin contact and clean hands. Wear shorts, skip body lotion on training days, and keep your hands and the pole clean and dry.
- Warm up. Shoulders, wrists, back and core should be warm before you go upside down.
- Listen to your body. If something hurts or you feel dizzy or out of control, stop. If you have problems with your blood pressure, neck, back or shoulders, talk to your doctor or physio before you start inverting.
How long does it take to learn to invert?
There is no fixed timeline. It depends on the strength you start with, how often you train, what you already know and how your body responds to being upside down. Some dancers find their first invert sooner, for others it takes longer, and both are completely fine. Regular conditioning and patience with the progression help more than pushing for the full move too early.
FAQ
Can I learn to invert at home?
Yes, many dancers practise inverts at home with a crash mat under the pole and a pole in static mode. For the first tries on the pole, a spotter who knows what to do makes it much safer.
Do I need to be strong to invert?
You need enough core, arm and shoulder strength to lift your hips with control. That strength grows through conditioning and regular training, so you build it on the way rather than needing it before you start.
What is the difference between a tuck invert and a straddle invert?
In a tuck invert your knees stay bent and close to your chest, which keeps the lift compact. In a straddle invert your legs open wide into a V, which asks for more strength and control.
Why can’t I get my hips over my head?
Common reasons are arms drifting long, too little core strength yet, or swinging instead of lifting. Go back a step in the progression and work on crunches and tuck holds at the pole.
Should I learn to invert on a static or spinning pole?
On a static pole. A spinning pole adds movement you do not need while you learn the basic lift.
What next?
The Invert Masterclass takes you through the invert in detail, with technique and workouts built around it. It is included in your membership, which you can try 7 days free.
What next?
Start with Class 1 of our 12-Week Starter Course. Every move is taught with our Floor-Stand-Air Method™: on the floor first, then standing, then in the air.