

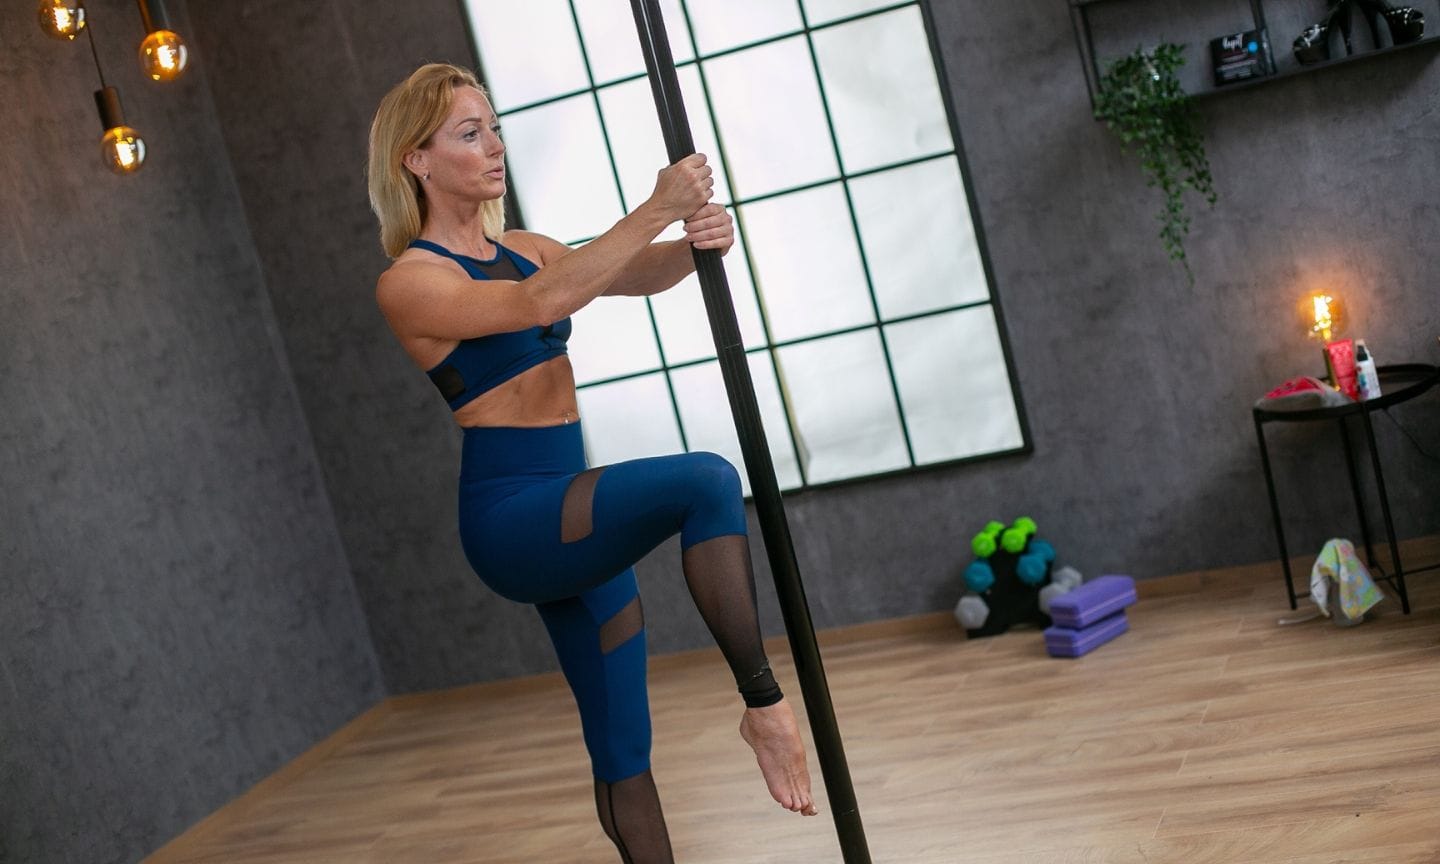
10% off at Lupit Pole
We train on Lupit Pole. With the code POLEPLACE10 you get 10% off in the Lupit shop.
Setting up a dance pole at home comes down to three things: preparing the right spot (ceiling, floor, space), following your manufacturer’s manual step by step, and checking the pole before every single session. This guide walks you through what to prepare and how the process works in general, so you know what to expect. It does not replace your pole’s manual, which is always the document to follow.
Short answer: if you have not bought a pole yet, start with our guide to the best pole for home. A pressure-mounted home pole such as the Lupit Classic G2 is designed to be installed by one person without drilling.
What do you need before you set up a dance pole?
Most of the work happens before the pole even comes out of the box. Take the time for this part, because it decides how safe and stable your pole will be.
The right ceiling
A pressure pole pushes against your ceiling with a lot of force. Lupit gives a load of about 80–120 kg for its Classic home pole. That is why the ceiling matters more than anything else:
- Concrete or solid wood are what manufacturers recommend. Lupit names concrete or hard wooden ceilings as the best base.
- Joists: if your ceiling is not solid, the top dome has to sit under a joist or beam. X-Pole’s manual explains how to find one by tapping or with a stud finder.
- Plasterboard or false ceilings: Lupit does not recommend installing on them without reinforcement.
- Sloped ceilings need a special mount that is fixed to the ceiling. Lupit sells one for the Classic.
If you do not know what is above your ceiling, or you are unsure whether it can take the load, ask a professional (a builder, carpenter or structural engineer) before you install anything. That conversation is far cheaper than a damaged ceiling. If you rent, check your rental agreement and talk to your landlord first. Our article on a pole in a rented apartment has more on that.
The right height
Measure your ceiling height at the exact spot where the pole will stand, in millimetres, not just somewhere in the room. Old buildings in particular can vary by a few centimetres. Then compare it with your pole’s height range and order extensions if you need them. Our guide to ceiling height for a pole explains the details, and if your ceiling is not suitable at all, a stage pole can be the better choice.
Enough space
You need room to spin, kick and fall safely. X-Pole recommends a clear circle of about 3 to 3.5 metres in diameter with the pole in the centre. Look out for furniture corners, radiators, lamps, windows and door frames. If you can extend your arms and legs in every direction without touching anything, you are on the right track.
A stable floor
The base needs a level, firm surface. Thick carpet, soft vinyl or floating floors can give way under pressure. Your manual will tell you what your model needs. A crash mat around the pole is a good idea from day one, more on that in our home equipment guide.
Tools and a helper
Lupit includes all tools needed for its home poles except a spirit level and a ladder. X-Pole lists a tape measure and a spirit level as what you need before you start. A second person is not required for many home poles, but it makes the first setup calmer.
Plan enough time, too. Lupit says most people need about 15 minutes for the first installation of a home pole and around 5 minutes after that. Count on more the very first time, when you are also measuring, levelling and reading. Do not set the pole up right before a session, but on a day when you have time, and only try your first moves after the safety check.
How does setting up a pole work? An overview
Every model is assembled a little differently, so here is only the general flow, to help you understand the manual, not to replace it.
- Read the manual completely before you touch any parts. Watch the manufacturer’s installation video too, if there is one.
- Check the parts against the parts list in the manual. If something is missing or damaged, contact the manufacturer before you go on.
- Find and mark the spot on the ceiling and floor, centred under a joist if needed.
- Assemble the pole sections exactly as described, including any extensions.
- Position the pole and make it vertical with a spirit level.
- Create pressure between floor and ceiling the way your model requires, no more and no less than the manual says. Overtightening can damage the pole or the ceiling, and Lupit notes that it can also affect the spin.
- Lock everything and set the mode, static or spinning, with the mechanism your pole uses.
- Test carefully before your first real move: hold the pole, put some weight into it and check that nothing shifts.
For the exact steps, torque and order, use your manufacturer’s guide:
- Lupit: installation videos and FAQ on the Lupit website (Lupit)
- X-Pole: XPERT instruction manual (PDF)
- Other brands: the manual in the box or on the brand’s own website
Keep the manual and the tools somewhere you can find them again. You will need both for re-tightening and for taking the pole down.
What should you check before every pole session?
This is the part that matters most once your pole is up. A pressure pole can lose tension over time, for example through temperature changes, vibration or simply use. X-Pole states that it is the user’s responsibility to check the pole is installed correctly and safely before use.
A quick check takes less than a minute:
| Check | What you look for |
|---|---|
| Pressure | Grab the pole firmly and pull and push it in different directions. It should not shift, rattle or wobble at the top or bottom. |
| Joints | The connections between sections should be tight and not turn in static mode. |
| Mode | Is the pole really set to static or spinning, the way you want to train today? |
| Top and base | Are the dome and base still in the same spot and sitting flat? |
| Surface | Is the pole clean and dry, without lotion or grip residue? |
| Space | Mat in place, nothing around the pole that you could hit? |
If anything moves, do not train until you have re-tightened the pole as your manual describes. X-Pole also recommends checking tightness and joints regularly during use, ideally every 30 minutes. Some models also need regular maintenance, such as oiling the bearings. Our article on pole care and cleaning covers that.
When should you not set up a pole yourself?
Get professional help or choose a different solution if:
- you do not know what your ceiling is made of or where the joists run,
- the ceiling is plasterboard, suspended or visibly damaged,
- the ceiling is sloped and you would need a fixed mount,
- the pole would stand on a soft or uneven floor,
- the pole does not hold firmly even though you followed the manual.
In all of these cases a freestanding stage pole can be an alternative, because it does not press against the ceiling.
Setting up for training, not just for the pole
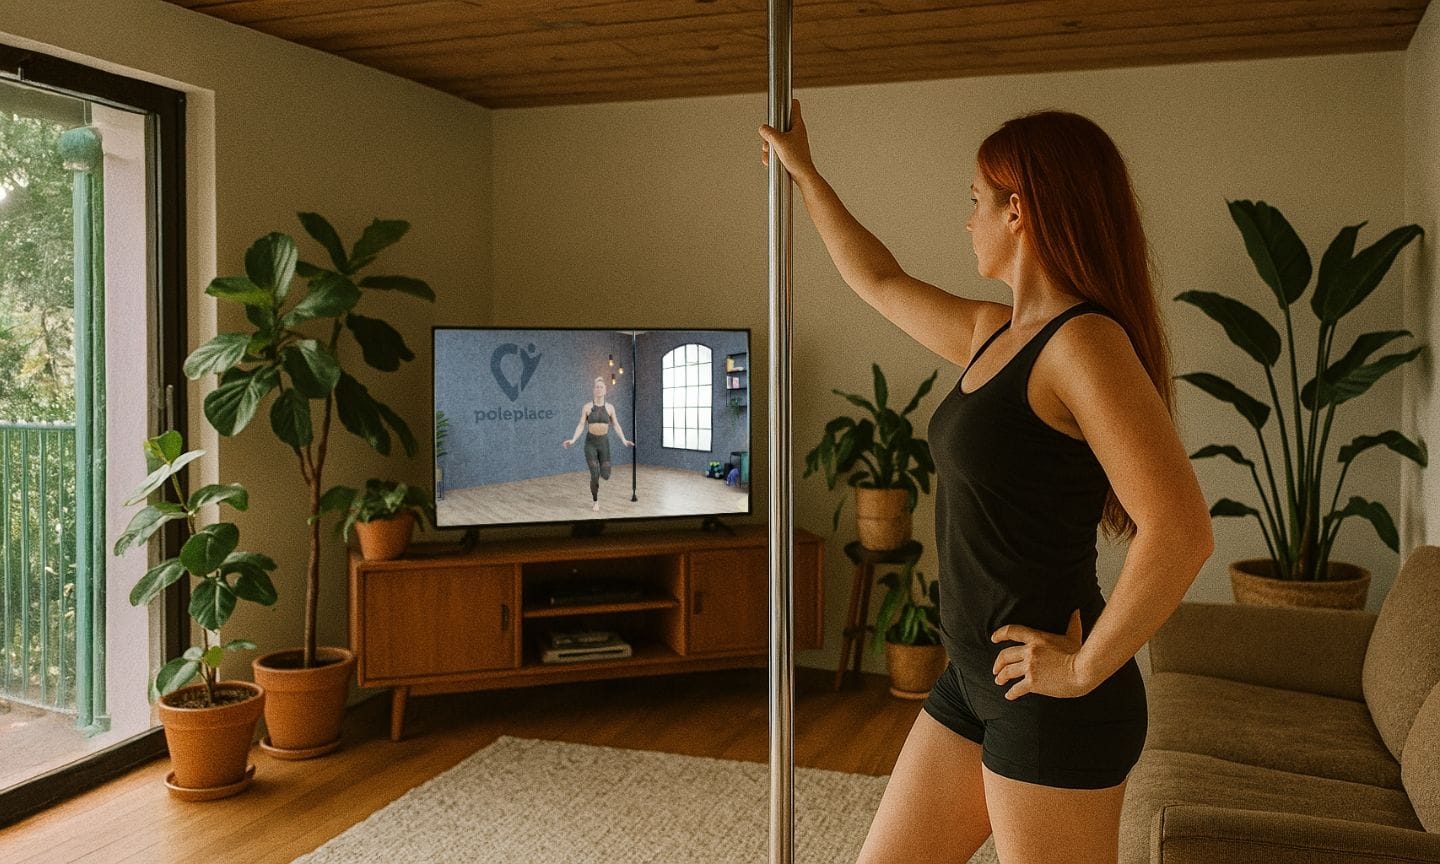
Once your pole is safe, make the space your own. Put down a mat, keep a cleaning cloth and your grip aid within reach, and make sure you have a screen to follow classes. You do not need much more to start. The things that do help are in our home equipment guide.
FAQ
How long does it take to set up a home dance pole?
It depends on the model and on you. Lupit says most people need about 15 minutes for their first installation of a home pole and around 5 minutes after that. Give yourself more time the first time and do not rush it.
Can I set up a pole on a plasterboard or suspended ceiling?
Manufacturers generally advise against pressure poles on plaster or false ceilings without reinforcement, because the pole needs a solid surface to press against. If you are unsure what your ceiling is made of, ask a professional before you install anything.
Do I need to drill holes to set up a home pole?
Most home poles are pressure-mounted and hold between floor and ceiling without drilling. Permanent mounts and some special mounts, such as those for sloped ceilings, are screwed in. Your manual tells you which applies to your model.
How often should I check my pole?
Before every session, and during longer sessions too. X-Pole, for example, recommends checking tightness and joints regularly during use, ideally every 30 minutes, and not using the pole if anything moves.
Can I set up my pole alone?
Many home poles are designed so one person can install them. A second person is still handy for holding the pole straight, checking the level and passing you parts while you are on a ladder.
What next?
Your pole is up and checked? Then the fun part starts. With the 12-Week Starter Course you learn step by step at home, starting on the floor and building up to your first spins. You can try it 7 days for free. Still looking for the right pole? Our pole buying guide compares the options, and with the code POLEPLACE10 you get 10% off at Lupit.
What next?
Start with Class 1 of our 12-Week Starter Course. Every move is taught with our Floor-Stand-Air Method™: on the floor first, then standing, then in the air.